 Deutsch (Deutschland)
  English (United Kingdom)
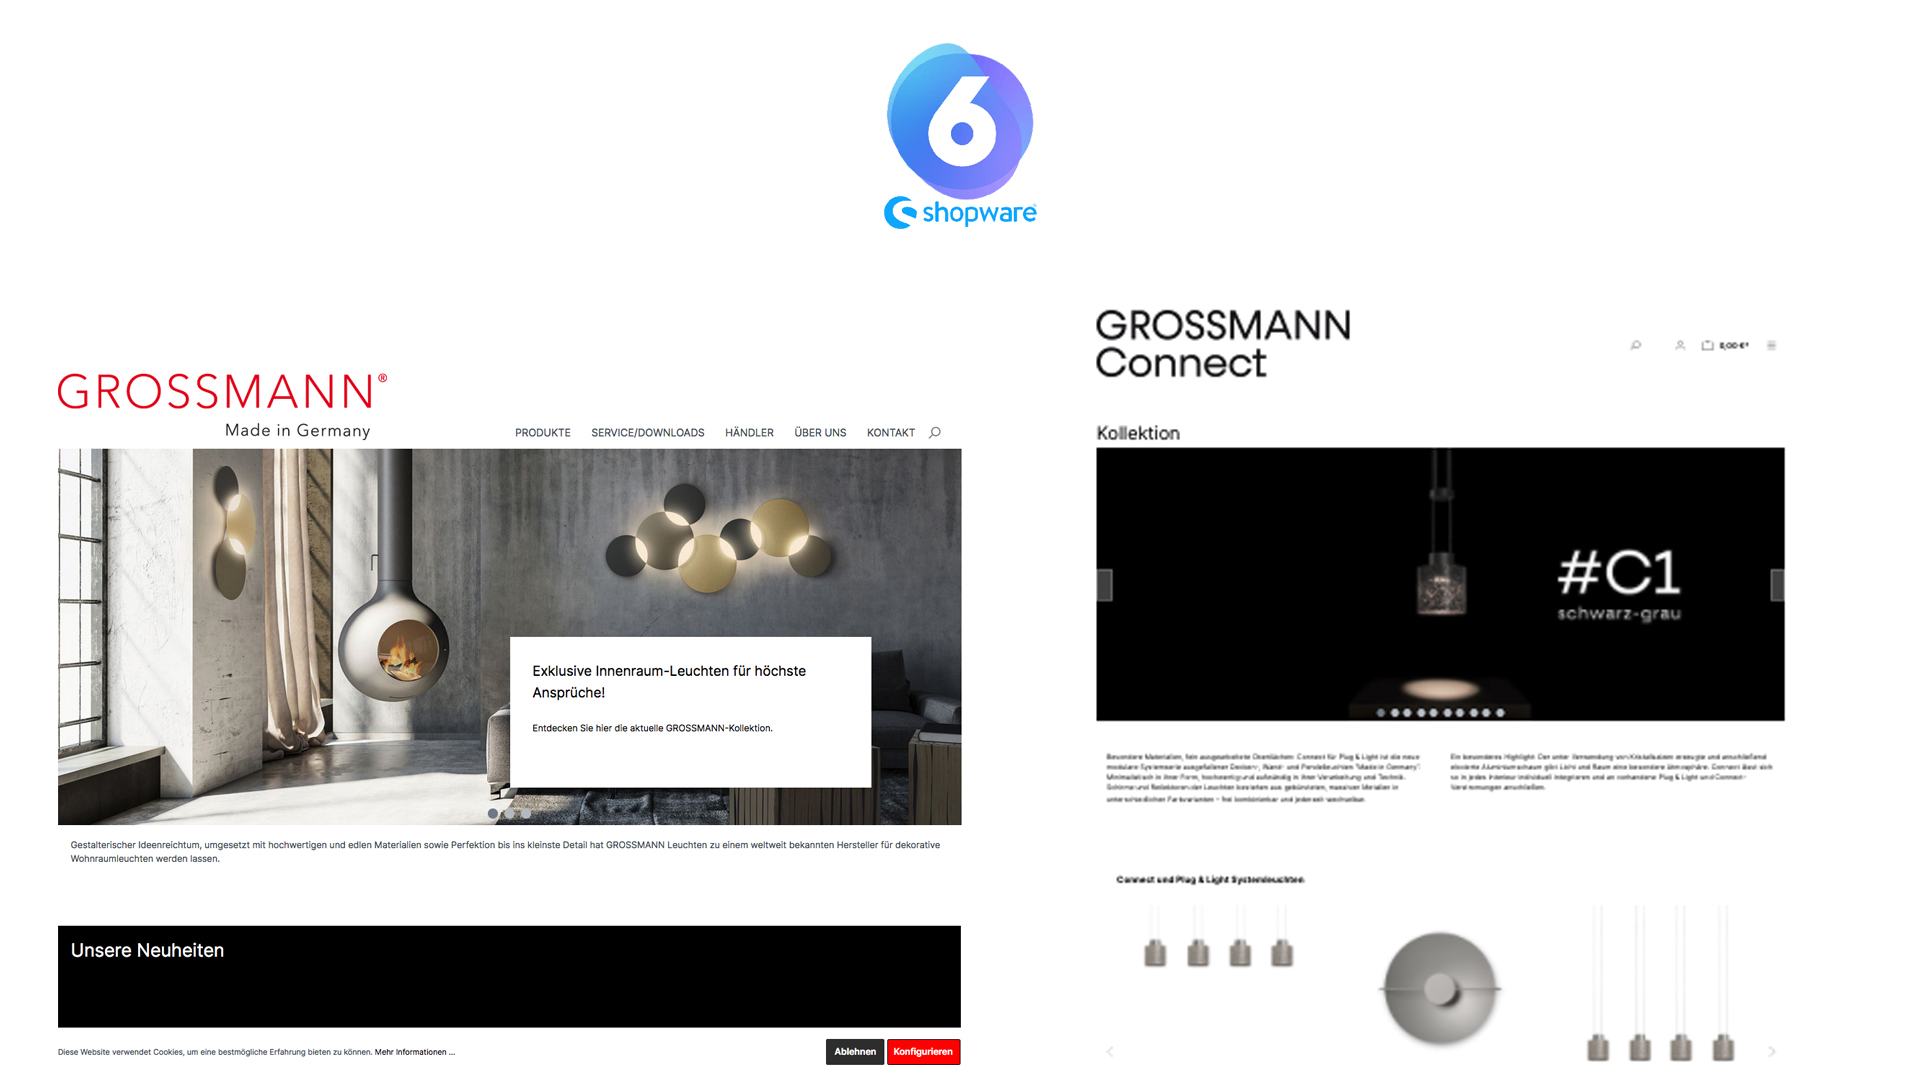
/shopware for sale
Product content
PDF Automation
SEO
New eShops supplement sales functions in 24/7 mode. In addition, the entire online communication is the central business technology. Concept and programming combine requirement and possibility. The operational resources for this are recognized based on the state of the art. Optimal solutions, training and service for a successful homepage, e-shop or app are projected and implemented by me. Common practice is the transformation of existing non-sale websites such as Typo3 to Shopware as a new sales asset.
This is also interesting for the content. In the opposite sense, the eShop system serves as a PIM and generates e.g. the latest product data sheets directly. For your needs we offer:
/development
To do this you will need:
- Apple Macintosh computer: macOS Sierra+
- Command Line Interface (CLI) "Terminal"
In the course of this tutorial you will load this assistance software:
- Vagrant
- VirtualBox
- Homebrew
- Github
1. Open "Terminal" on your Apple PC.
In this tutorial I use my own user directory as an example. Terminal shows the user main directory and my rights as administrator. If you open Terminal, you should be able to read about this in relation to your computer environment.
Rolfs-MBP:~ rolfpluemper$2. Display the directory contents with the listing command (ls).
Rolfs-MBP:~ rolfpluemper$ ls

Applications  Downloads  Music  Sites ...
3. For the coming development, create a new folder and with the command (mkdir) and name it e.g.: DEV
Rolfs-MBP:~ rolfpluemper$ mkdir DEV4. Display the directory again - DEV is now present.
Rolfs-MBP:~ rolfpluemper$ ls


Applications  DEV Downloads  Music Sites ...
5. After this preparation, take note that your computer does not have a Linux operating system like Ubuntu to run the integrated development environment. You will now install this by taking VAGRANT as a recommended software tool for shopware6 development. Visit the manufacturer's homepage: https://www.vagrantup.com/downloads.html and download the macOS X 64-bit version onto your PC. Open the package vagrant.pkg, Vagrant loads automatically.
6. Change with the terminal into the DEV directory from step 4 with the change directory command (cd).
Rolfs-MBP:~ rolfpluemper$ cd DEV7. Create a vagrant folder there in DEV.
Rolfs-MBP:~ rolfpluemper$ mkdir vagrant_getting_started
8. Change to the new directory.
Rolfs-MBP:~ rolfpluemper$ cd vagrant_getting_started9. The Vagrant directory is initialised, i.e. made available by creating the file "Vagrantfile".
Rolfs-MBP:~ rolfpluemper$ vagrant init hashicorp/bionic6410. After the Vagrant initiation, the central software is loaded that provides the operating system for the development. VirtualBox is used for this purpose.
11. Change with the terminal into the user main directory from the tutorial beginning and install the software from this site: https://www.virtualbox.org/wiki/Downloads. Here, load the OSX host by downloading and opening the dmg. file and install the VirtualBox.pkg package.
12. Terminal is still active in the Vagrant directory "vagrand_getting_started". Enter the terminal command:
Rolfs-MBP:~ rolfpluemper $ vagrant up13. This installs the VirtualBox directories in the user root directory. VirtualBox VMs running the Debian/Ubuntu operating system.
14. Now we check whether GIThub is available as an open source software platform on the computer. This is on mine.
Rolfs-MBP: DEV rolfpluemper $ git --version
git version 2.14.3 (Apple Git-98)
If Github is not available on your computer, further preparation is necessary to load Github. Install the "Homebrew" installation software via the terminal.
Rolfs-MBP: ~ rolfpluemper $ / bin / bash -c "$ (curl -fsSL https://raw.githubusercontent.com/Homebrew/install/HEAD/install.sh)"Go to the Github homepage: https://git-scm.com/download/mac and install the software with the installation software Homebrew in the main directory / bin with the terminal. Then:
Rolfs-MBP: ~ rolfpluemper $ brew install git15. After Github has been installed you can load the Github directory for the shopware6 develop platform.
Rolfs-MBP: ~ rolfpluemper $ https://github.com/shopwareLabs/shopware-platform-vagrant 16. Use the terminal to go to the new Vagrant directory in DEV.
Rolfs-MBP: ~ rolfpluemper $ cd shopware-platform-vagrant 17. Start vagrant
Rolfs-MBP: ~ rolfpluemper $ vagrant up18. Make your develop environment accessible via the browser in which you make VM accessible via ssh.
Rolfs-MBP: ~ rolfpluemper $ vagrant ssh 19. With a browser you can access your shopware frontend via http://192.168.33.10 and the backend via http://192.168.33.10/admin
Login: admin I shopware via the virtual host Ubuntu 18.04
20. Provision vagrant
Rolfs- MBP: ~ rolfpluemper $ vagrant provision 21. Bring the show to the road ...!
Rolfs-MBP:~ rolfpluemper $ bin/console